Here we suggest one of the ways to avoid personal bias in the design process, specifically in the UX universe, where amid so many ways to solve a problem, it is not enough to choose the right one for you. No matter the experience or guts you have earned, the appropriate option might be related to the business model of the project you are in, the audience you are targeting, the product for sale, and the team you belong to.
The Alignment Workshop is a method that I had a chance to apply for an assignment. If needed, we can define this process as the “next step” of a Discovery Workshop. Still, we can enable it on different levels of a process regardless of the order in which a design choice could have repercussions.
In other words, An Alignment workshop might work for any design choice to clarify a path before diving into artifacts, mockups, or deliverables at risk of personal biases and useless steps for the product.
Research and Knowledge
When selecting or making proposals for a product design challenge defined through an assigned task, we can usually follow a set of principles or briefings by our client that may provide enough information to build/design/deliver straightforwardly with no blockers. However, this mechanical habit can play against us because of a lack of user-centered awareness. It’s important to rewind and go to the fundamental idea of what makes us UX: Think like a human (user).
Let's start by taking the time to make sure we thoroughly understand everything involved with the Jira ticket, task, or acceptance criteria we need to accomplish. We can use Google to find sources, patterns, and viable and valuable opinions. Also, it is beneficial to utilize the design teams' knowledge of their work on similar projects and tasks.
Quick Documentation
Nothing fancy; we need only to organize the sources we have found. We can use a “lovely” Excel spreadsheet, a FigJam, a Sketch, or a Miro doc as a personal draft to gather the information. Besides collecting concepts, let’s include visual examples — remember that not everybody in your team is a designer, so we should be as explicit as possible.
Once enough information is collected to have a crystal clear discussion for you and your colleagues, we then make a pre-validation with the Dev team before diving into the workshop. It might help filter the paths/proposals previously found to save time in debates.
This is how we can set this workshop:
Before the meeting:
- Organize your workshop deck and ask for a second pair of eyes to review nothing has been left out.
- Make a shortlist of the guests that would be nice to have at the workshop. If you don’t know who to invite, ask your PM about the people who should be considered. Try to summon varied roles but with enough experience about the product.
- A 45-minute meeting is an ideal time length. Sixty is beneficial to utilize the limit.
- Ensure that all the attendees can access the file they will interact with before joining the meeting. You can send a message via a chat channel or email asking for confirmation.
- Give the option to participate in offline mode if the workshop allows it.
During the meeting:
- Record the session to query/share later.
- Firstly, it’s essential to mention the primary goal:
-
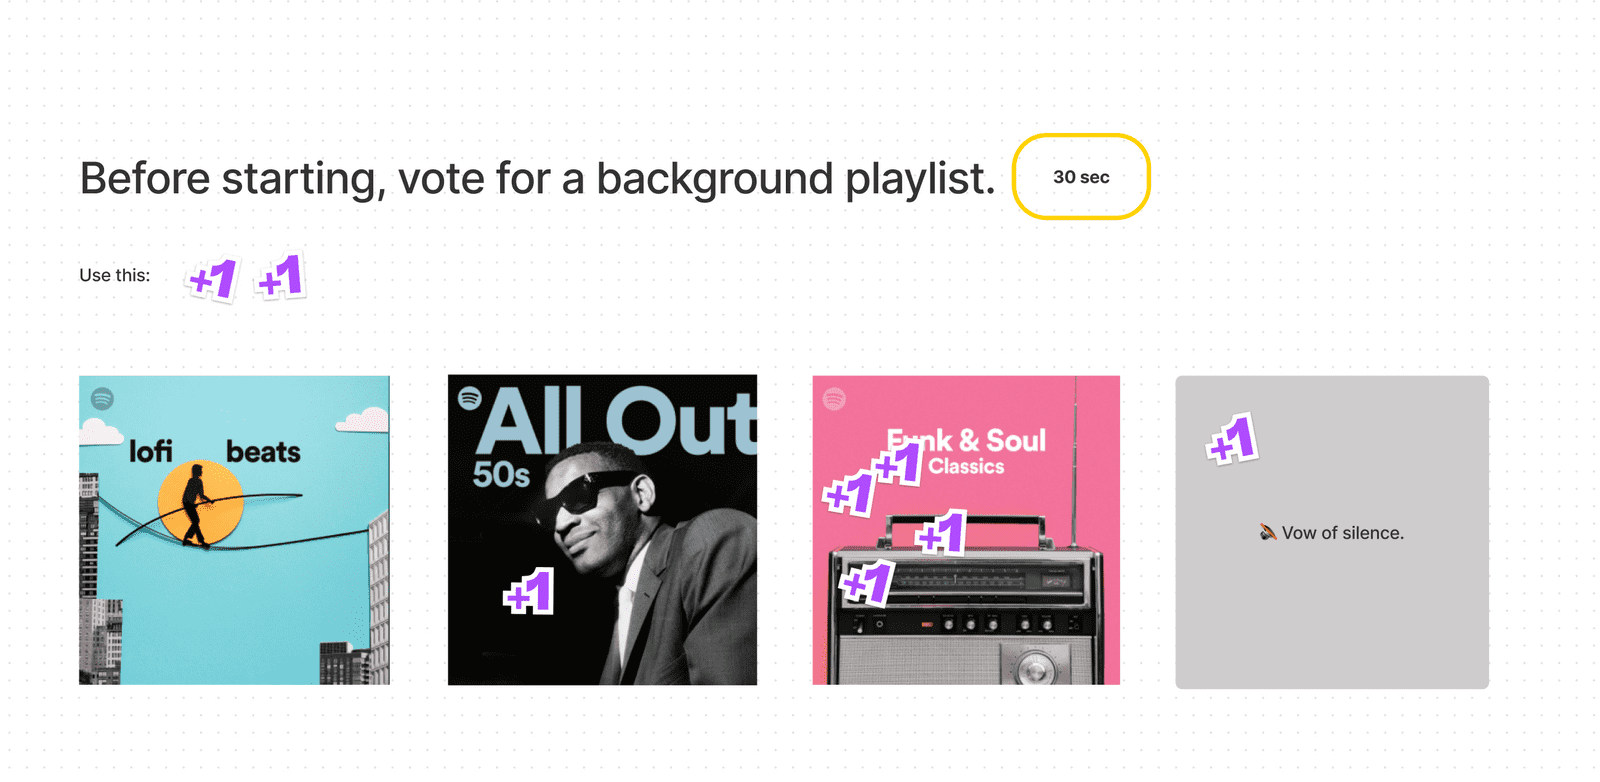
Icebreaker: Build an Ice-breaker activity; be quick and flexible (30 sec).
-
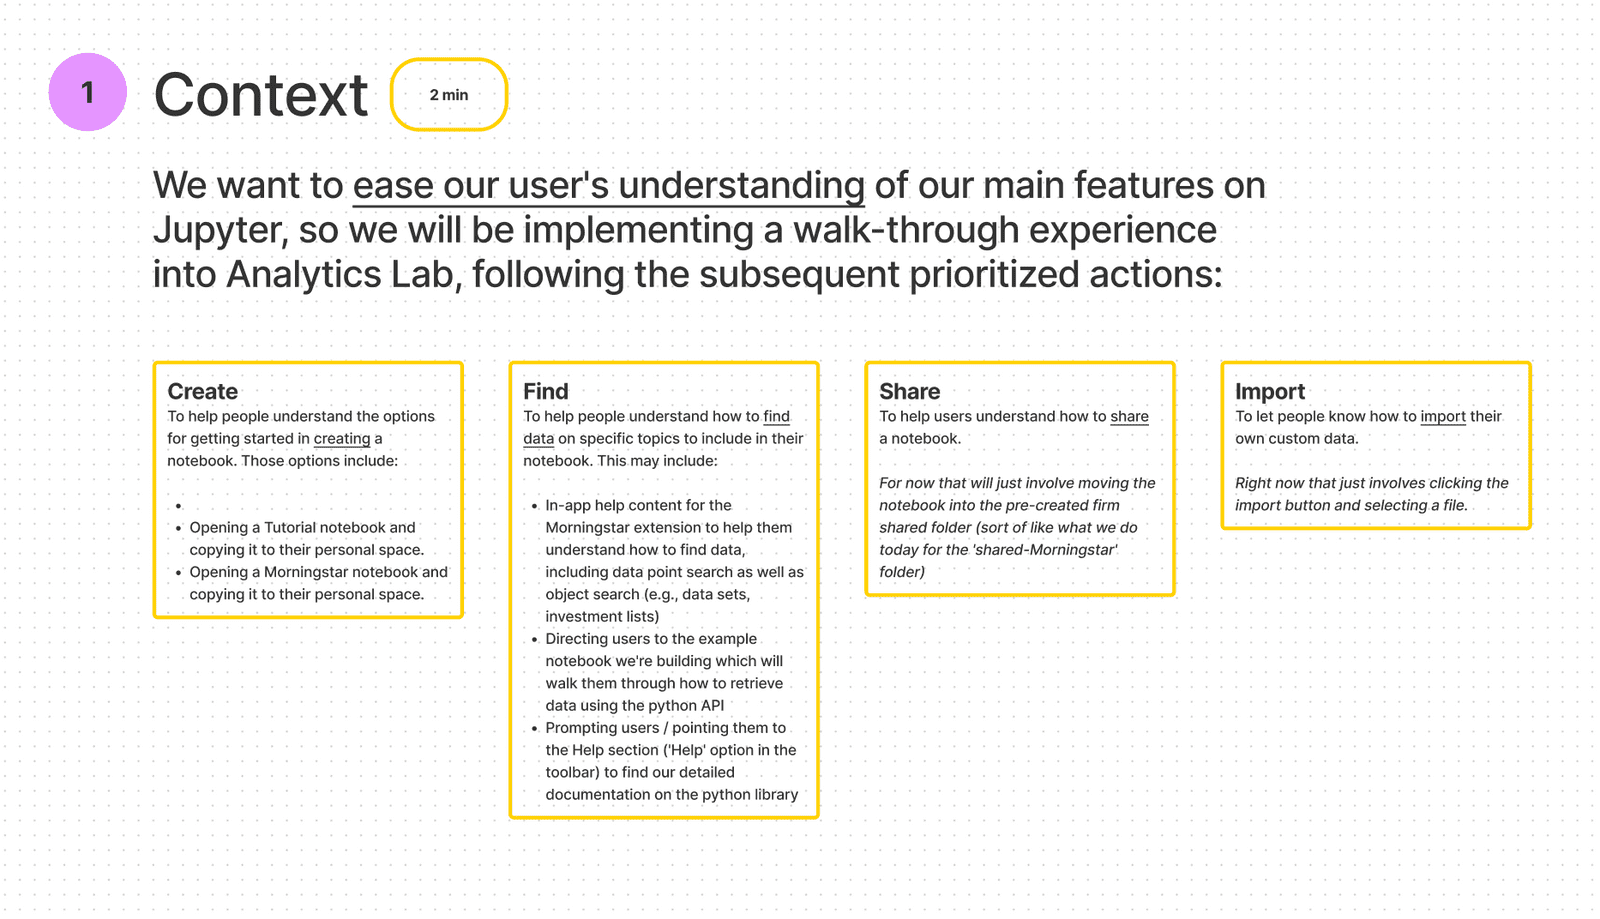
Context: Acknowledge your audience the acceptance criteria this workshop needs to accomplish to understand the thresholds.
-
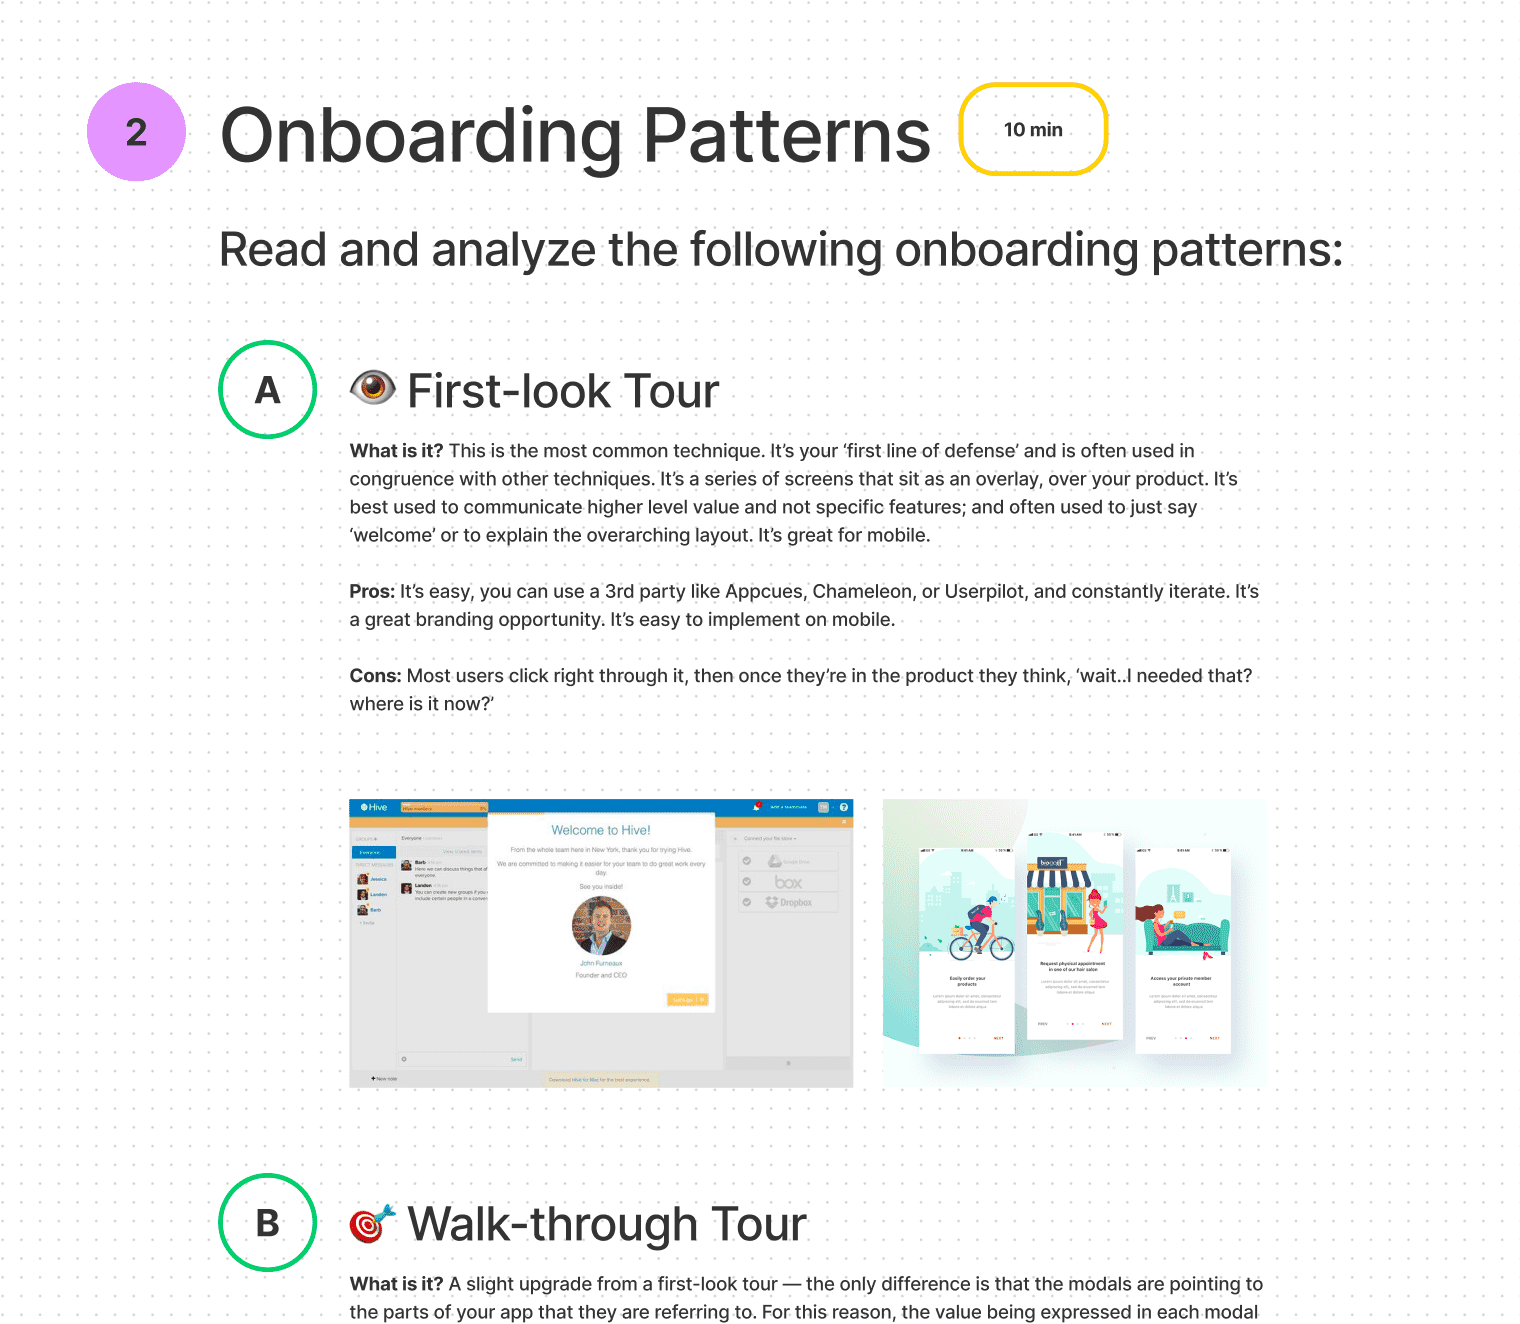
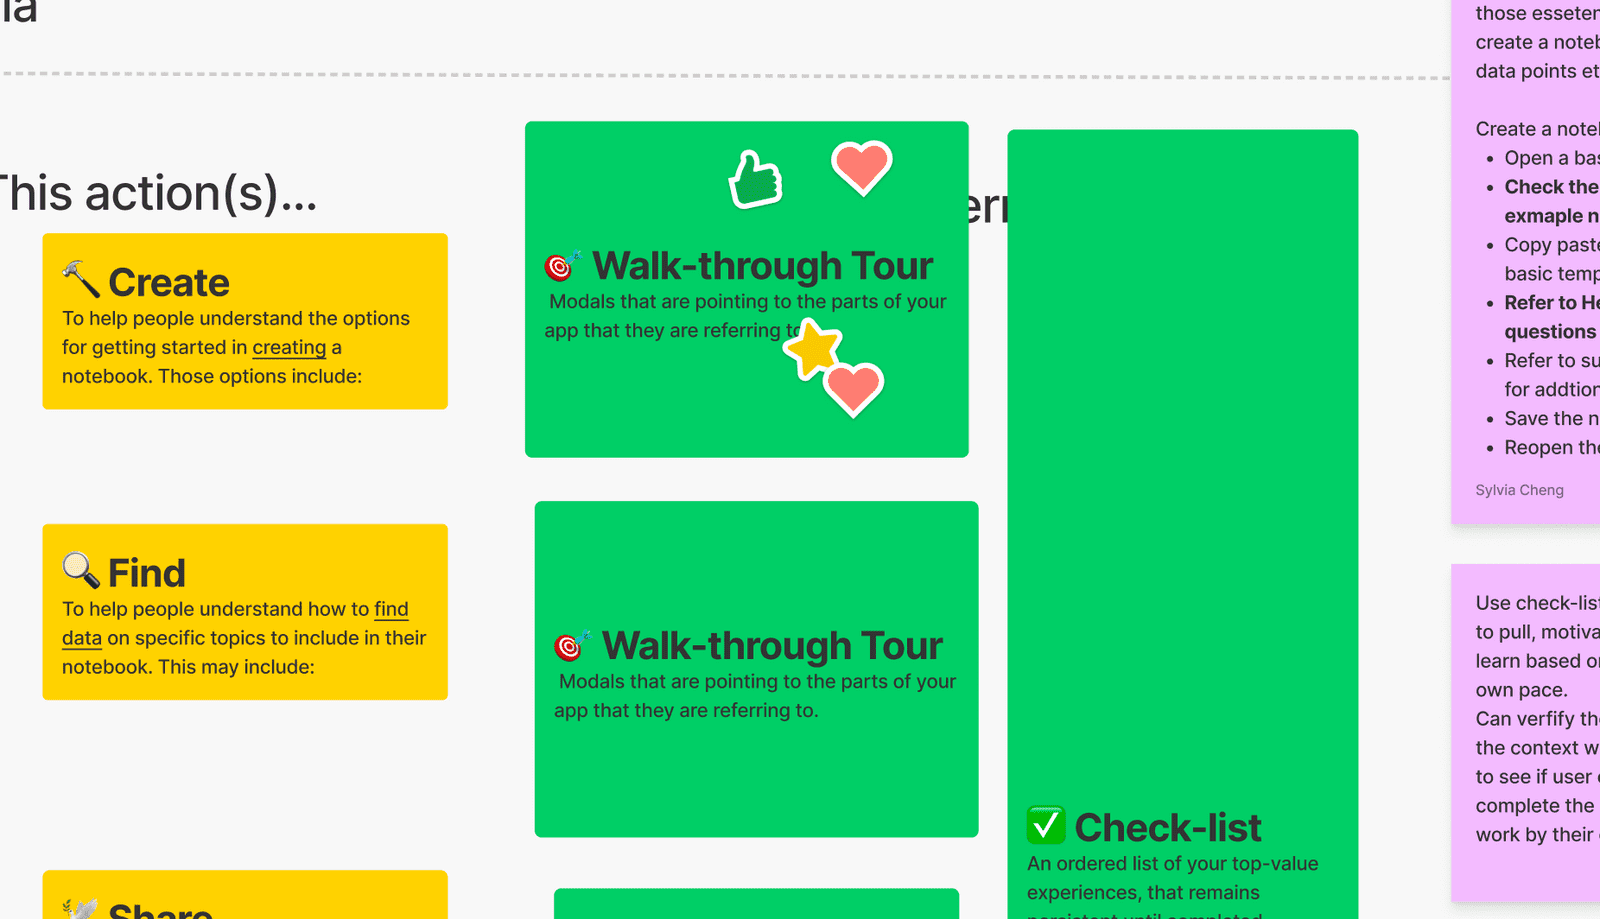
Research or Samples: Show and explain the research/proposals/topics/paths/patterns the team must choose. — Be clear, concise, and visual. Don’t stain those ideas with personal opinions, and if possible, put pros and cons for every item.
-
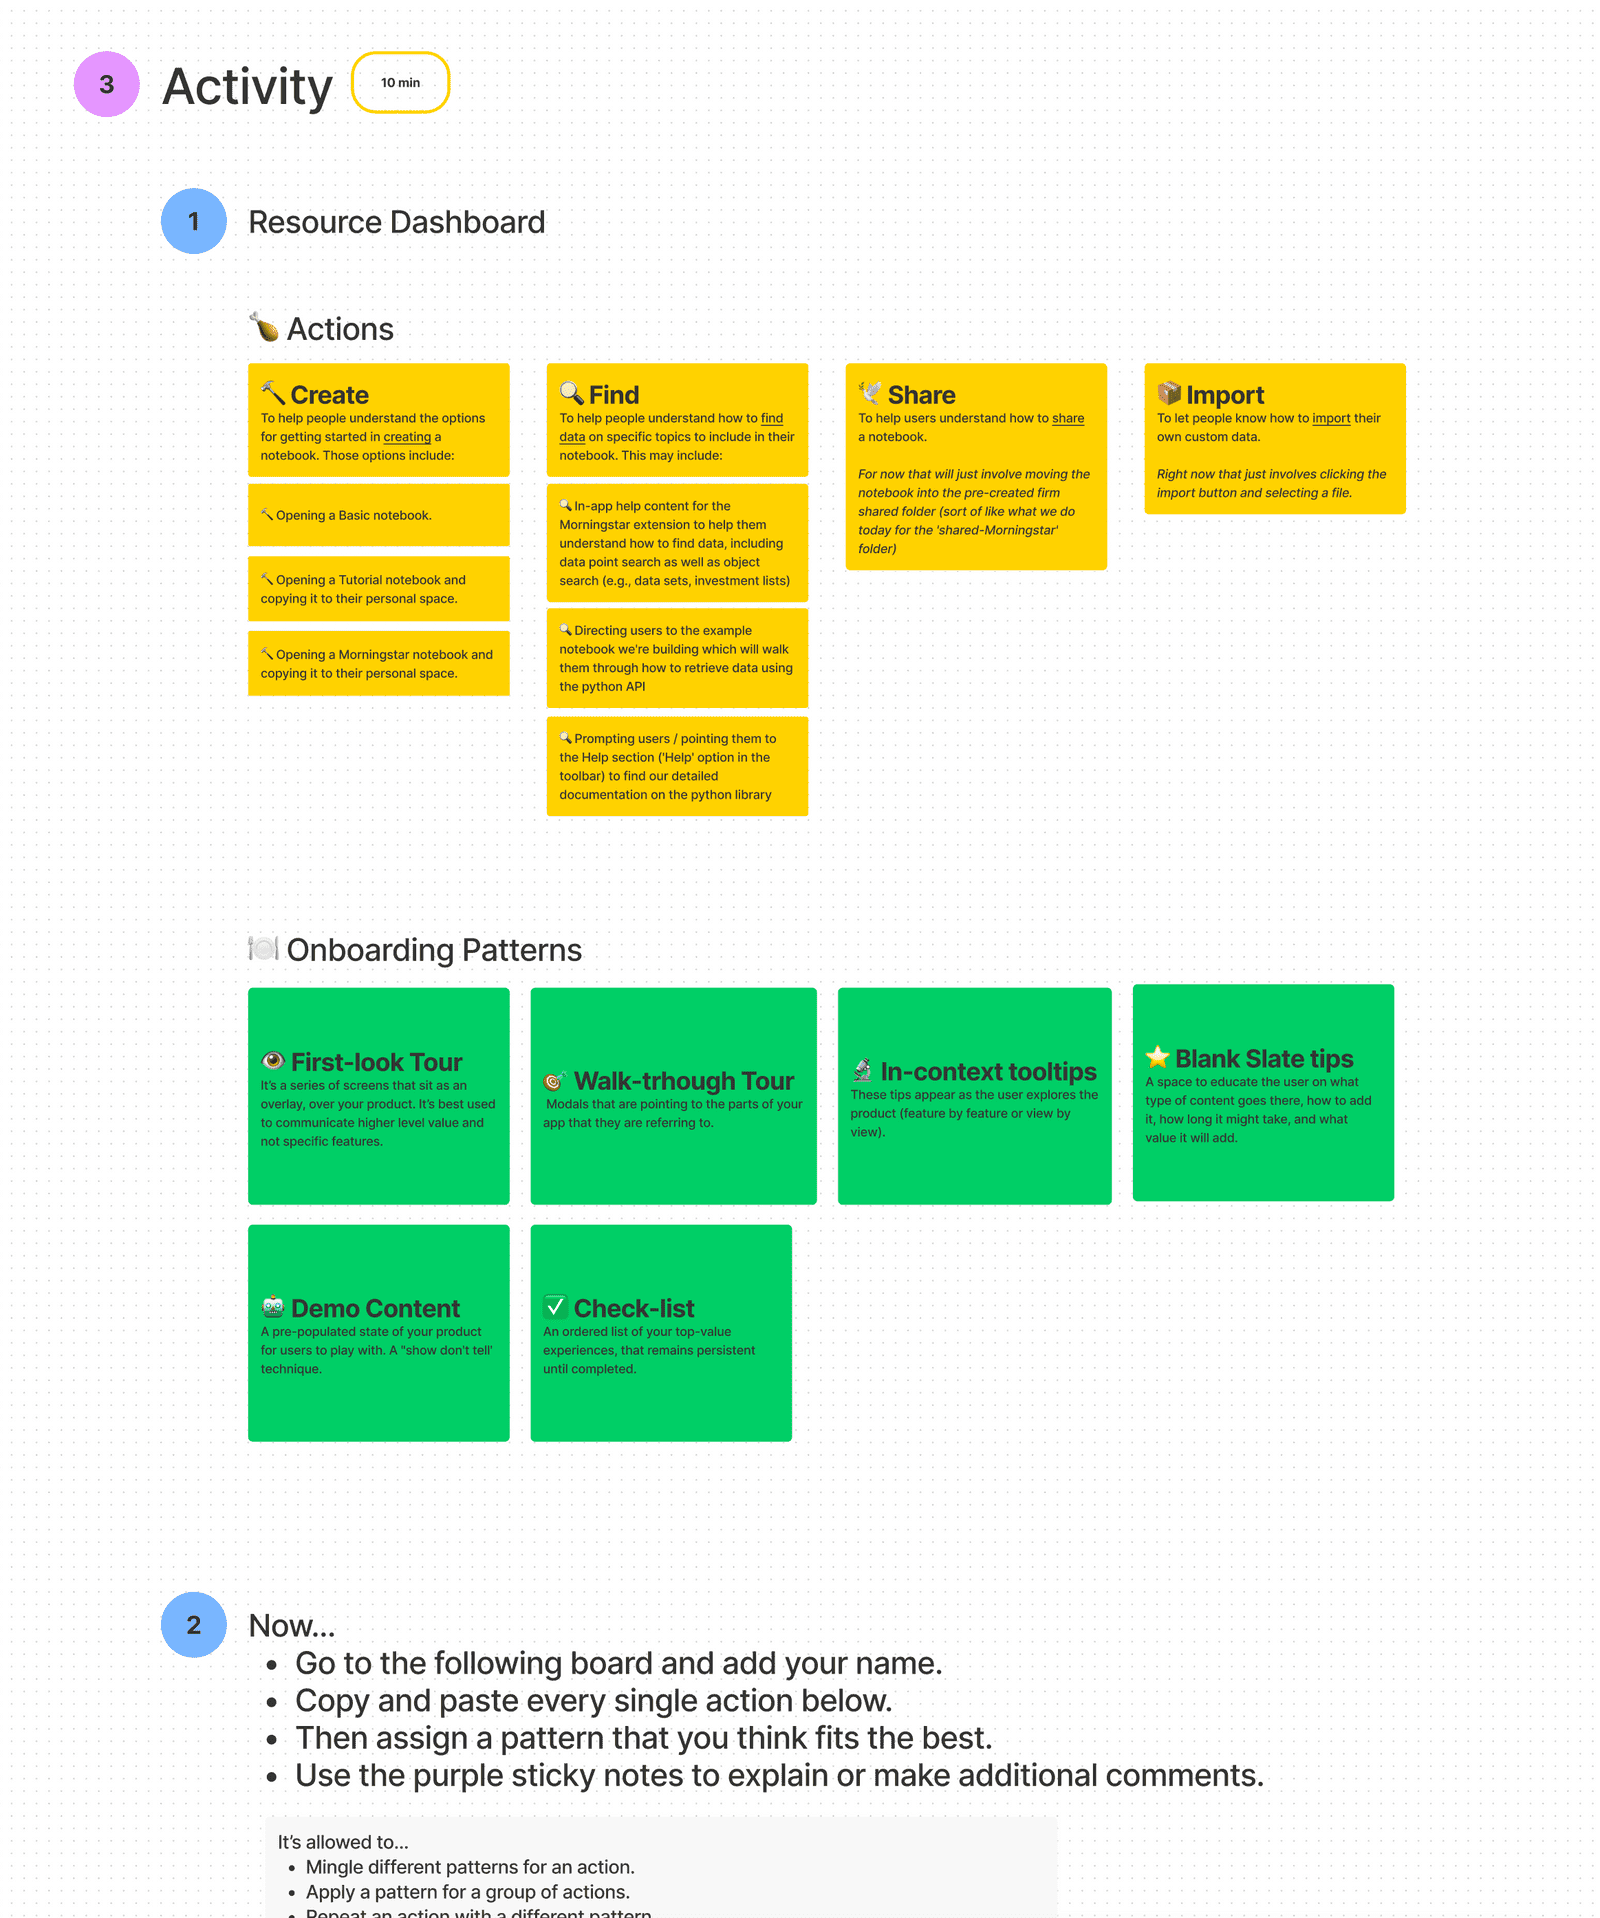
Activity: The suggested action is Card Sorting, but ensure that this one will fit the expected outcome. You can also set live sketching, open questions, usability tests, AB testing…
-
Vote: Let all the attendees vote for the proposals gathered.
-
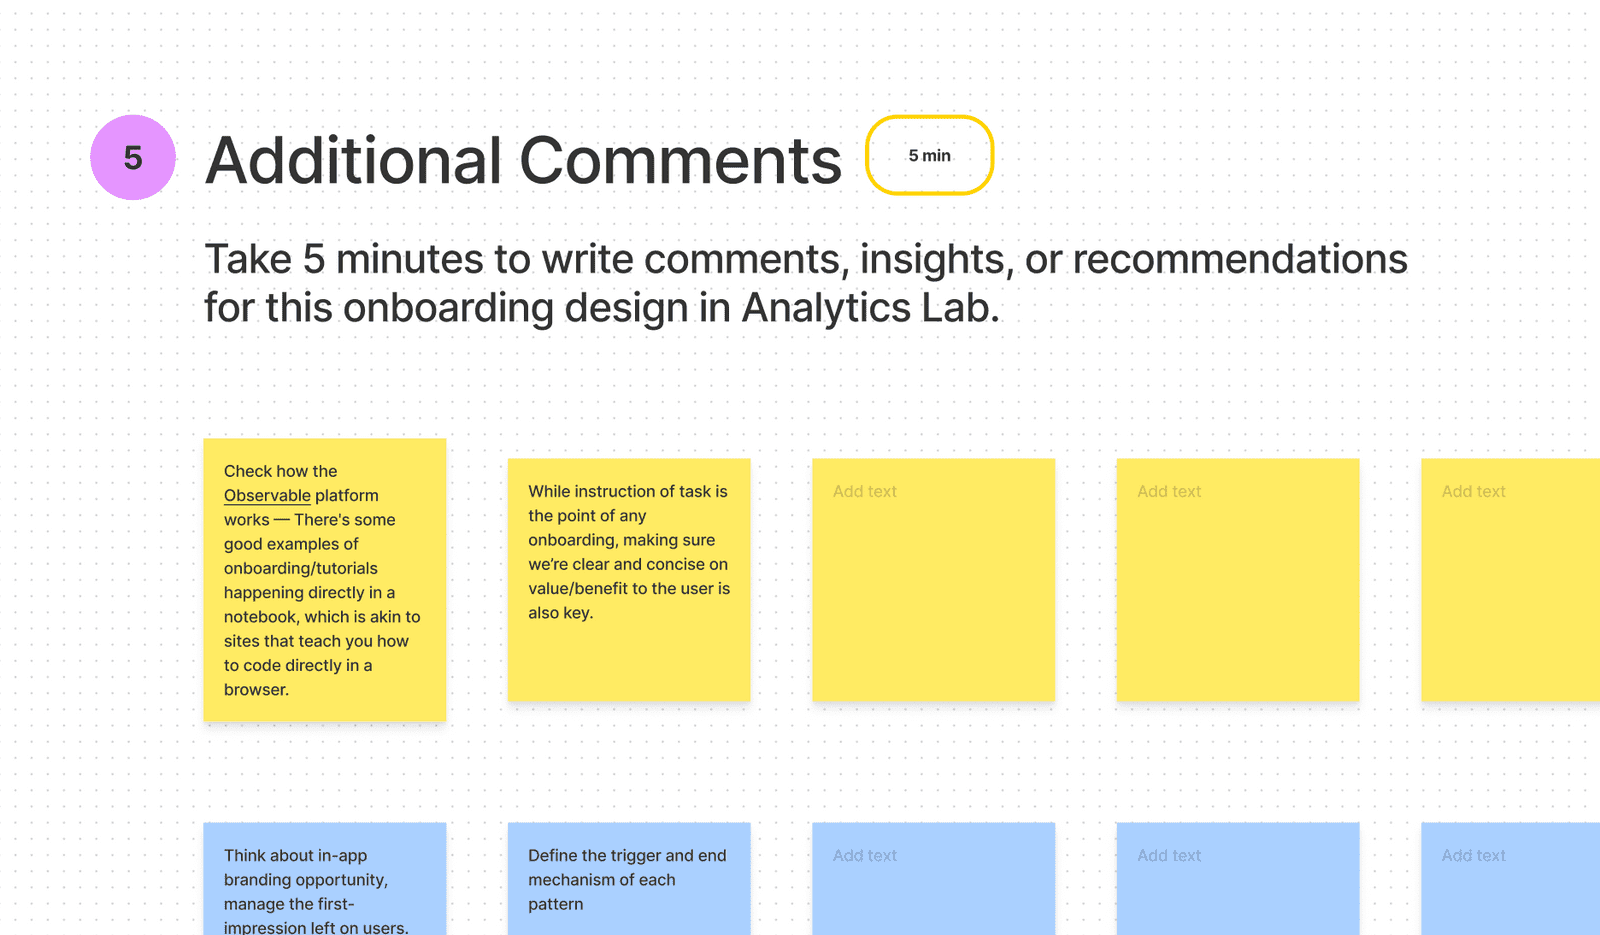
Additional Comments: Every comment will complement the main activity because the participants might contribute or call out something more.
After the meeting:
-
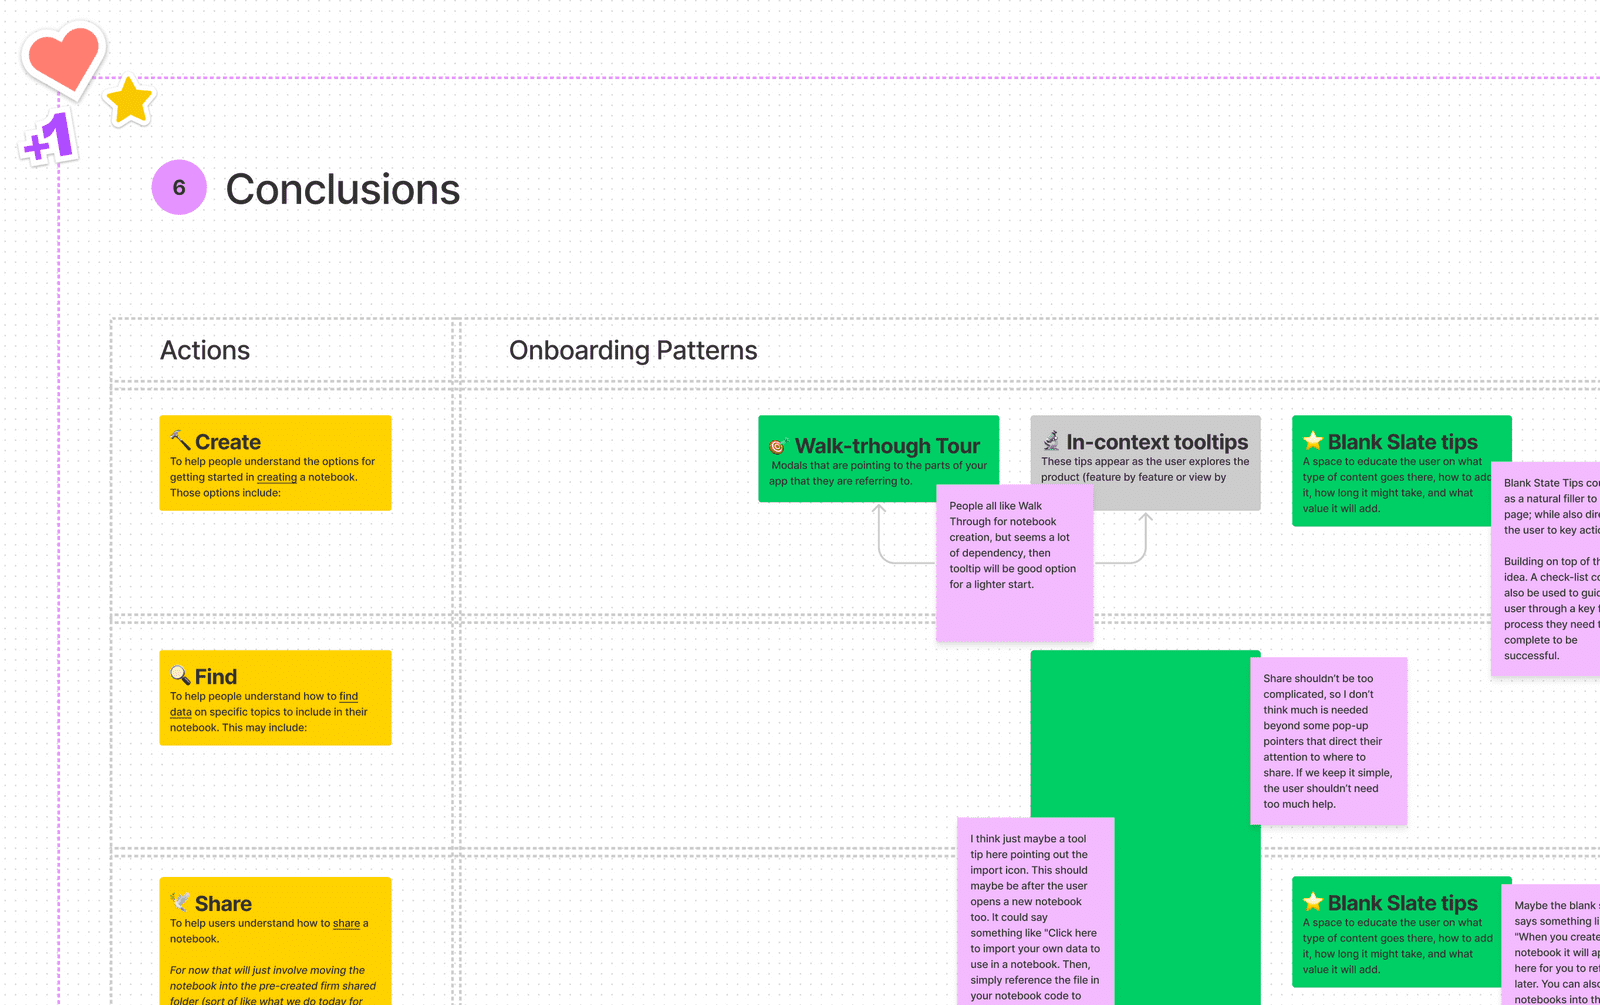
Conclusions: We can use a simple table for prioritizing the actions in parallel to the ideas we just picked up. Then, we can place new comments from the team again.
- Finally, share those results with your team to evaluate the scope and start to work.
In conclusion
The implementation of this methodology was a success for the task’s primary need because we gathered a small but diverse group of people made up of different roles and disciplines with profound product knowledge and expertise focused on finding the best approach to a design challenge. The client did feel comfortable and satisfied with this methodology as an excuse to know better the team members, the goals, the users, and the product.
Regardless of how small a dare could be, become an unbiased player and provoke a team atmosphere.
Download your Miro Template here, and start planning your next Alignment Workshop

